
How to Setup Printer in ScanAttendee Web App for Mac OS
By Krishna Vaaka
To setup Printer for Mac OS, please follow below instructions.
Step 1
Install QZ Tray from https://qz.io/download/ on your MAC
Step 2
Install CUPS – to get access to local host printers, you need to install CUPS.
https://supportcommunity.zebra.com/s/article/000019418?language=en_US
Step 3
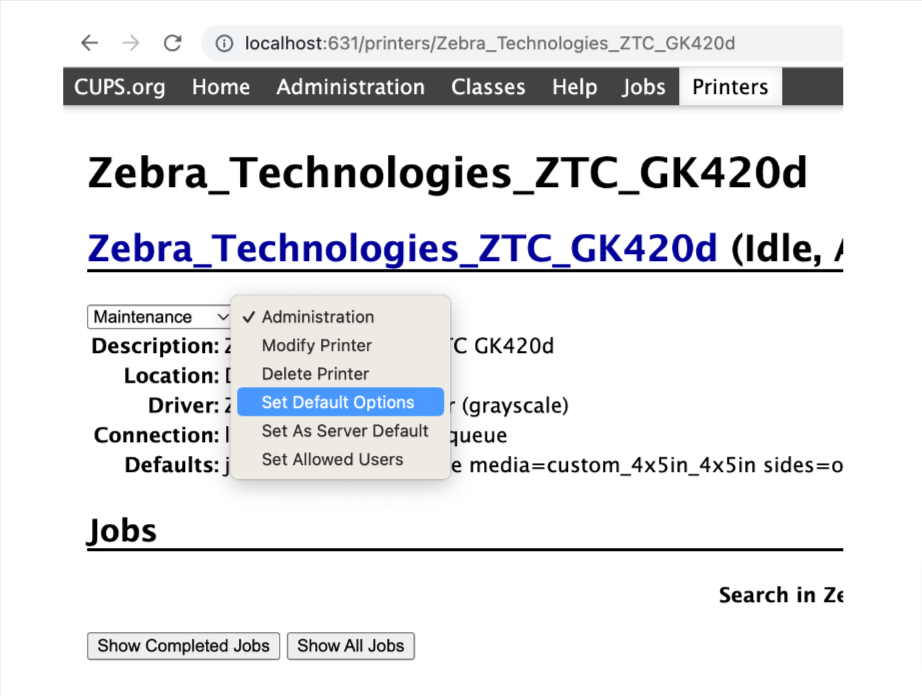
You need to set the Default printer settings like badge size, Media Type , etc. otherwise, it will mess up the printer configuration. – http://localhost:631/printers/
It might ask to run the following command to enable administration:
cupsctl WebInterface=yes
You need to run this from the terminal
Step 4
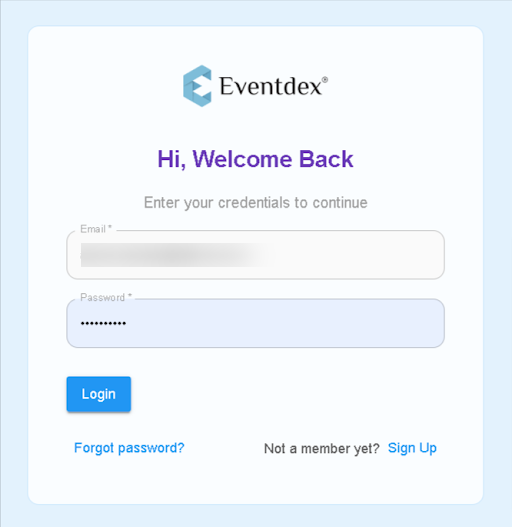
Login to ScanAttendee Web App – https://sa.eventdex.com >> Login with Admin Credentials
Step 5
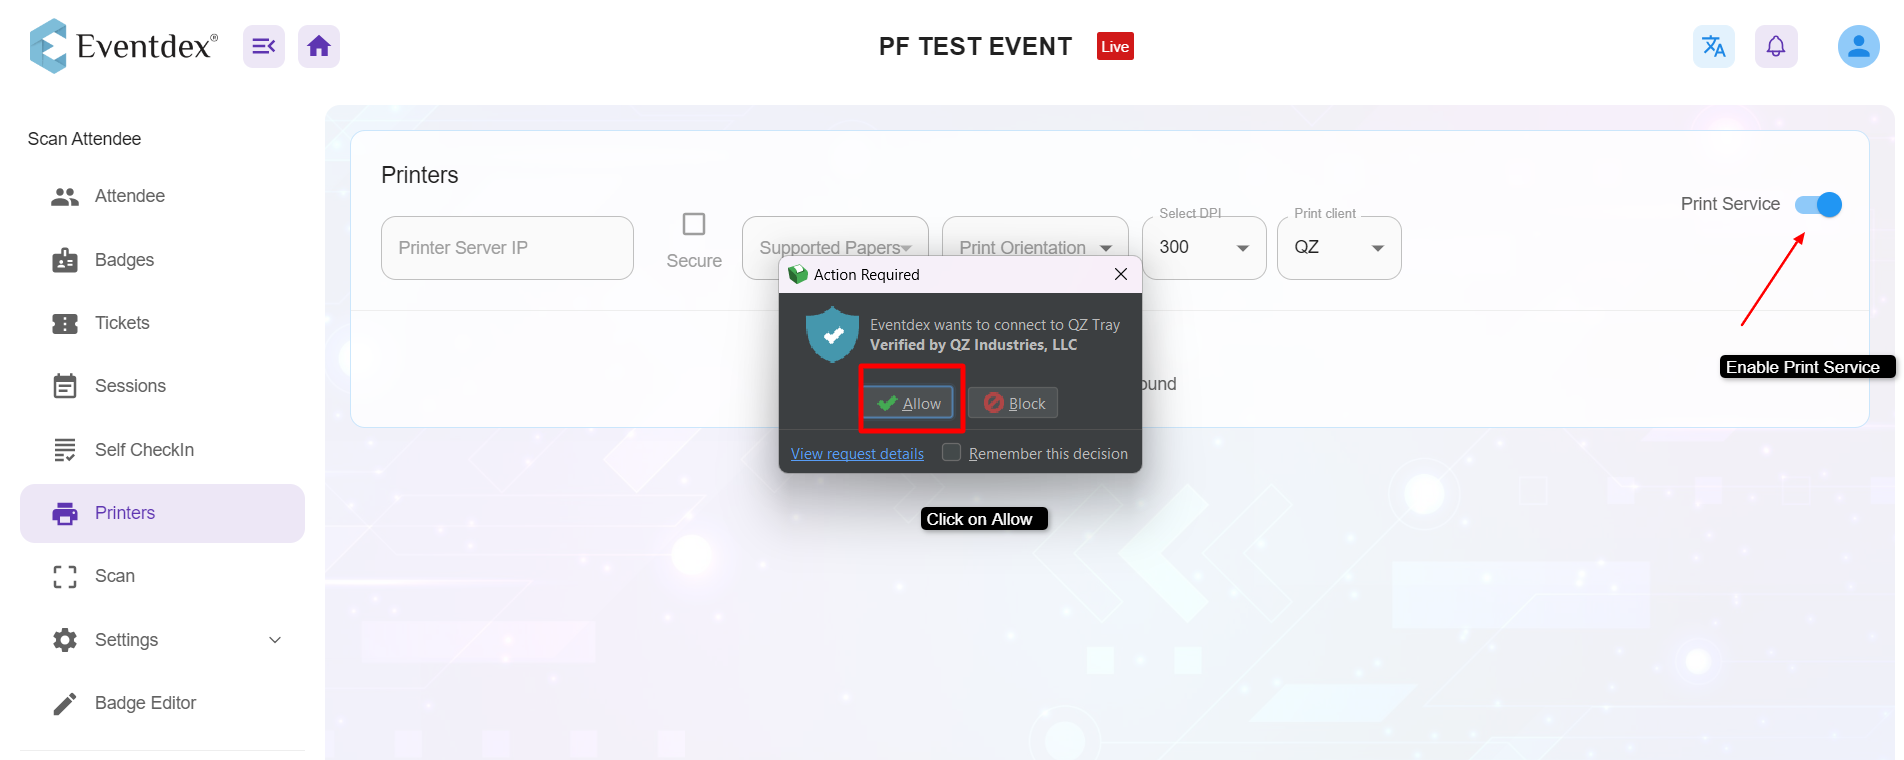
Go to Printer >> Select the Printer Client as OZ >> Select the Printer from the listing
If you don’t see the printers, toggle the Print Service button and make sure QZ Tray is running.
Step 6
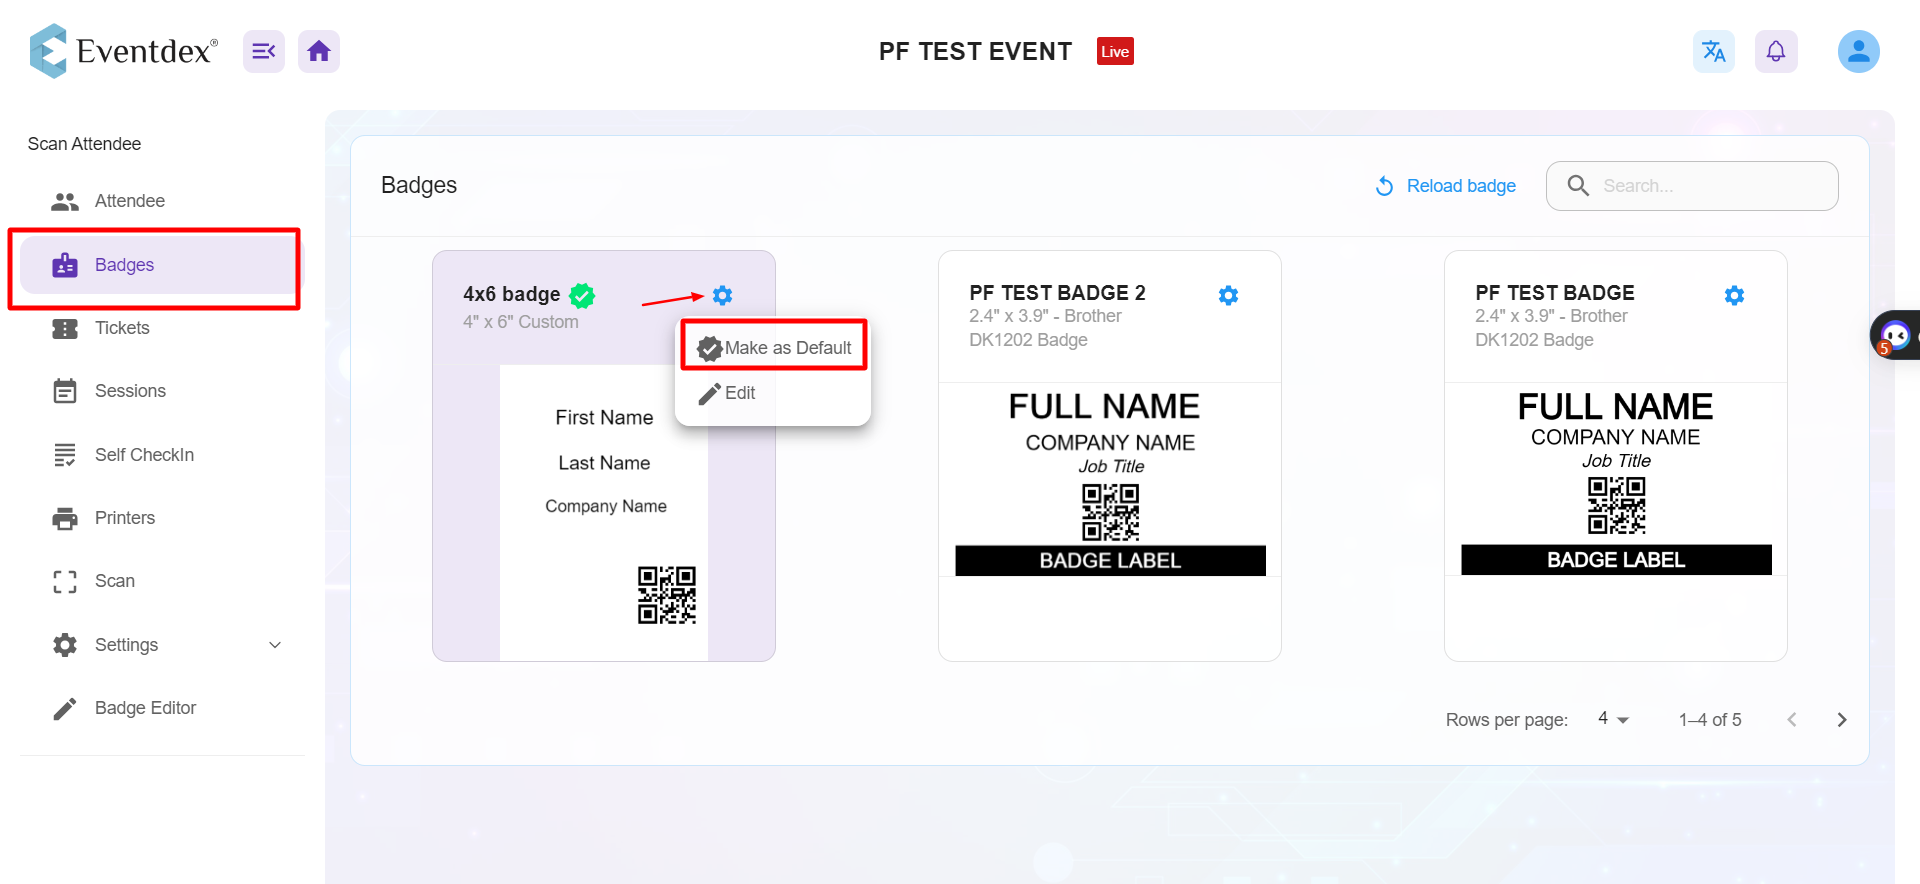
Go to Badge >> Select badge as Default.
Step 7
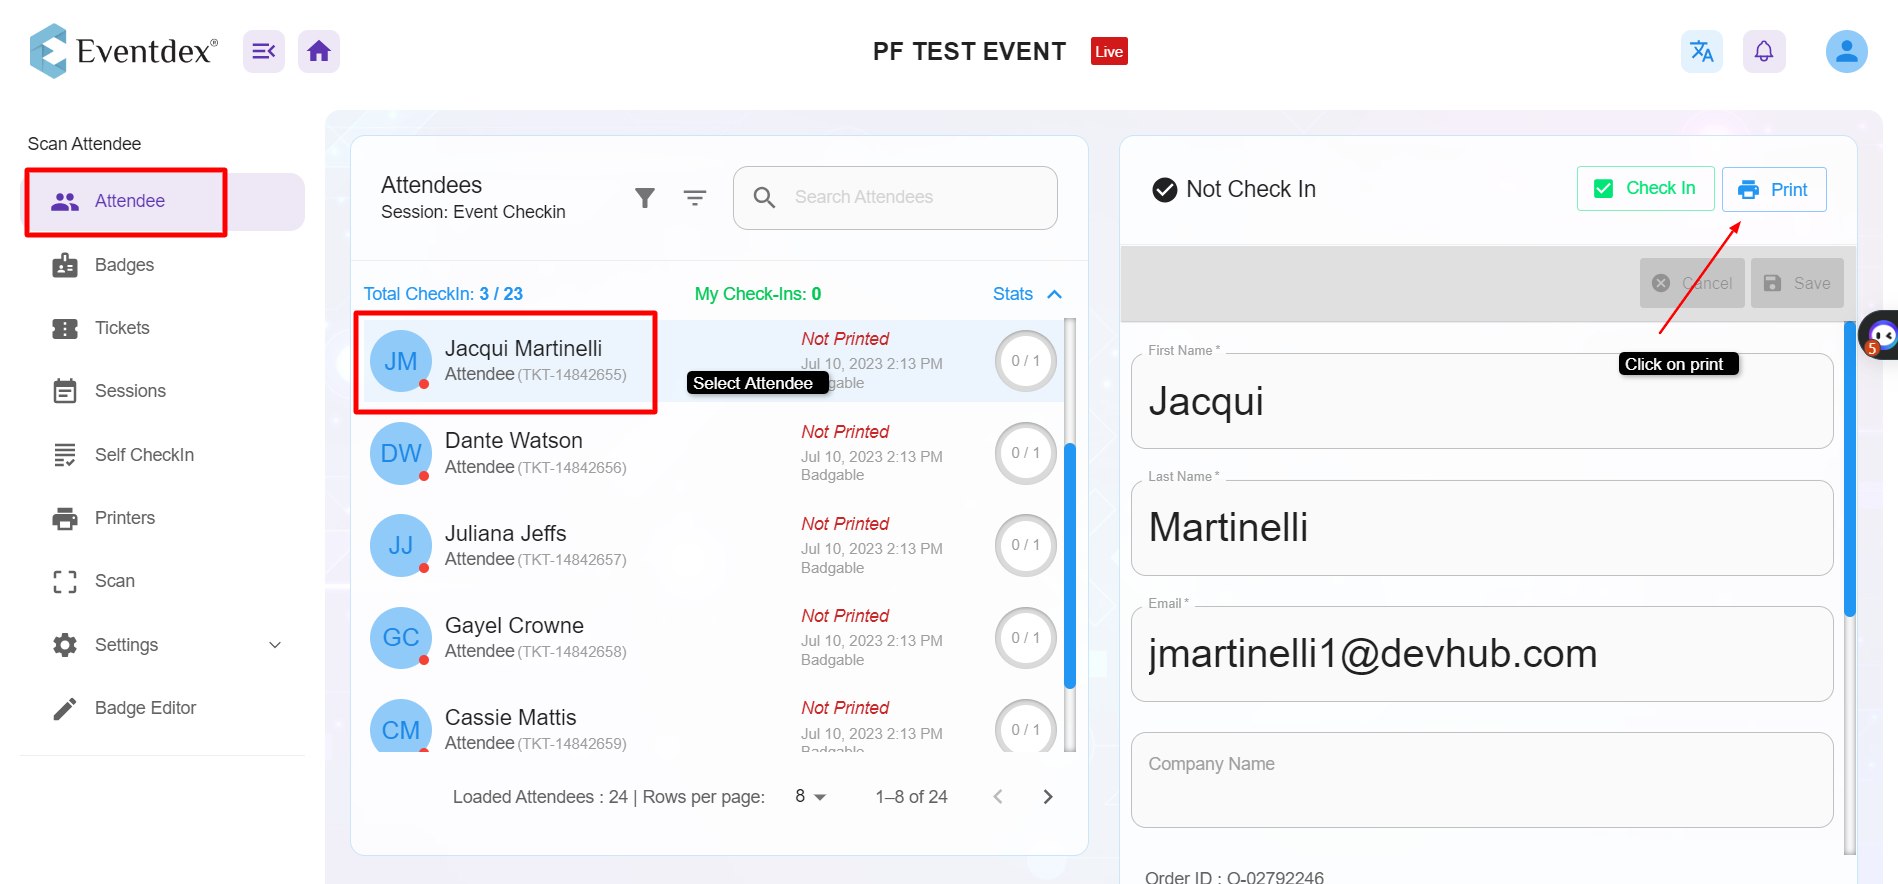
Go to Attendee Screen >> Select Attendee >> Print the badge.
For Bulk Print the badges, you can refer to Bulk Printing the badges help guide.